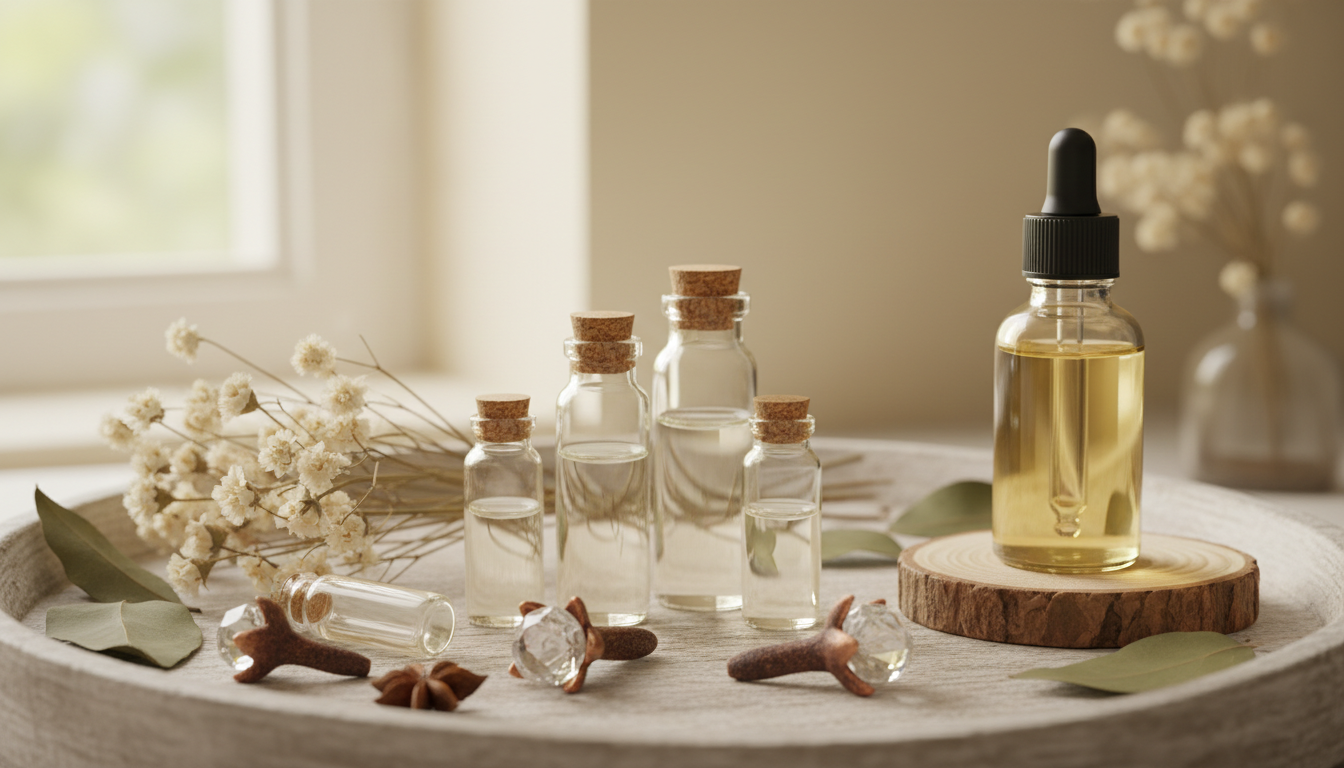
How to Age a Eugenol Blend Before Bottling
A freshly mixed eugenol blend rarely smells like its finished self. Pour clove bud oil, eugenol, and your other aromatic materials into a bottle and give it a sniff on day one, and you'll usually catch sharp, almost solvent-like top notes that haven't settled yet. That's normal. What you're smelling is a blend that hasn't gone through its rest period, the quiet stretch of time where individual materials knit together into something rounder and more coherent. Skipping this step is one of the most common reasons a home-blended perfume oil smells "off" compared to a commercial one, even when the recipe itself is sound.
This guide walks through how to age a eugenol-based blend before bottling it for sale or personal use: what you need on hand, how long to rest a perfume blend at each stage, and the small mistakes that quietly ruin otherwise good batches.
Why Eugenol Maceration Time Matters
Eugenol is the dominant aromatic compound in clove bud oil, and it's a heavy, reactive molecule compared to lighter top-note materials like citrus terpenes. When eugenol is first combined with carrier oils, alcohol, or other essential oils, the molecules haven't had time to fully disperse and interact. Some perfumers describe an unrested blend as smelling "disjointed," as if you can pick out the individual ingredients rather than a unified scent.
Maceration, the industry term for this resting phase, gives the mixture time to reach a more stable equilibrium. Some research on fragrance aging suggests that resting allows trace oxidation and slow molecular interaction to soften harsh edges, particularly with spicy, phenolic materials like eugenol. This isn't a fast process. Anecdotal evidence from small-batch perfumers suggests that even a few weeks can make a noticeable difference in how a clove-forward blend reads on the skin or in the air.
What You'll Need
- Your finished eugenol blend, whether that's clove bud essential oil diluted in a carrier, a eugenol-based perfume oil, or a more complex composition where eugenol is one note among several.
- Amber or cobalt glass bottles, sized to match your batch. Dark glass matters more than people expect; eugenol and other aromatic compounds can degrade unevenly under light exposure.
- A cool, dark storage space such as a cabinet, drawer, or closet shelf away from windows, radiators, and appliances that generate heat.
- Labels and a dating system, even something as simple as painter's tape and a marker, so you know exactly when each batch started resting.
- A notebook or spreadsheet for scent notes at each check-in point. Memory alone is unreliable for tracking how a blend changes over weeks.
- Blotter strips or cotton swabs for evaluating scent without opening the full bottle every time.
- Airtight caps or dropper tops that seal fully, since oxygen exposure during the rest period should be controlled, not eliminated entirely, since some oxidation is part of what softens the blend, but excessive air exchange can throw off ratios and dry out fast-evaporating materials.
Step-by-Step: Aging Your Eugenol Blend Before Bottling
Step 1: Mix in a Larger Container Than Your Final Bottles
Before you decant into individual retail or gift bottles, combine your full batch in one larger vessel, like an amber glass jar or a stainless steel blending beaker. Mixing everything together first ensures the resting process is uniform. If you split a batch into ten small bottles before resting, you introduce ten slightly different amounts of headspace (the air gap at the top of the bottle), and that inconsistency can lead to noticeably different scent development between bottles by the end of the rest period.
Step 2: Cap It Tightly and Label the Start Date
Seal your blending vessel with an airtight lid. Write the exact date you finished mixing directly on the label, along with the batch name or number. It's tempting to skip this step when you're only working with one or two batches, but once you're managing multiple blends at different stages, dates are the only reliable way to know which bottle is ready and which still needs time.
Step 3: Store in a Cool, Dark, Stable Location
Find a spot away from direct sunlight, heat vents, and temperature swings. A closet, a cabinet in an interior room, or a dedicated shelf works well. Avoid bathrooms and kitchens, where humidity and temperature fluctuate throughout the day. Consistency matters more than finding the coldest possible spot. A cool room that stays around the same temperature will generally outperform a space that swings between warm and cold.
Step 4: Let the Blend Rest Undisturbed for the First Two Weeks
Resist the urge to open, shake, or check the blend during this initial period. The first stretch of eugenol maceration time is when the roughest, most volatile top notes begin to mellow. Opening the container repeatedly during this window introduces oxygen unevenly and can actually slow the process by disrupting the equilibrium the mixture is trying to reach.
Step 5: Do Your First Scent Check at the Two-Week Mark
Using a blotter strip, dip it briefly into the blend and let it air-dry for thirty seconds before smelling. Take notes: is the eugenol note still sharp and dominant? Do you still smell individual raw materials separately, or has the composition started to feel unified? Write these observations down rather than relying on memory, since scent perception shifts quickly and it's easy to imagine progress that hasn't actually happened yet.
Step 6: Continue Checking Every One to Two Weeks
Repeat the blotter test on a regular schedule. Most eugenol-forward blends benefit from at least four to six weeks of rest, and more complex compositions with multiple essential oils can benefit from six to eight weeks or longer. Some perfumers report noticeable improvement even after three months, particularly with heavier, more resinous formulations. There's no universal finish line here; the right answer for how long to rest a perfume blend depends on your specific formula, the carrier you used, and your own scent preferences.
Step 7: Gently Agitate Before Each Check, Not During Rest
Right before you dip a blotter strip, give the container a gentle swirl (not a vigorous shake) to redistribute any settled materials. Vigorous shaking can introduce air bubbles and oxidize the surface layer faster than the rest of the blend, which can throw off your scent evaluation and make the blend seem farther along than it actually is.
Step 8: Confirm Readiness With a Skin or Fabric Test
Once the blotter test suggests the blend has rounded out, apply a small amount to a fabric swatch or, after appropriate dilution and a standard patch test, to a small area of skin. Aromatic materials often read differently once warmed by body temperature compared to a cool blotter strip. If the blend still feels sharp or unbalanced on skin even though it tested well on a blotter, give it another one to two weeks and test again.
Step 9: Filter If Needed, Then Decant Into Final Bottles
If your blend included any solid botanical material, such as whole cloves steeped for extra depth, run it through a coffee filter or fine cheesecloth before bottling. Decant into your final amber or cobalt bottles, filling close to the top to minimize headspace, and cap tightly.
Step 10: Store Finished Bottles Away From Light and Heat
Even after bottling, aromatic blends continue to shift slowly over time. Keep finished product in a cool, dark space until it's ready to ship or display, and encourage customers to do the same at home. A blend that rested properly before bottling can still lose some of its balance if it's later left on a sunny windowsill for months.
How Long to Rest a Perfume Blend: A General Timeline
| Blend Type | Typical Rest Period | What Changes |
|---|---|---|
| Simple eugenol-in-carrier dilution | 2 to 4 weeks | Sharp top notes soften; scent becomes rounder |
| Multi-oil eugenol blend (clove, cinnamon, citrus) | 4 to 6 weeks | Individual notes begin reading as one composition |
| Complex perfume oil with resins or woods | 6 to 10 weeks | Base notes fully emerge; overall depth increases |
| Alcohol-based eugenol perfume | 4 to 8 weeks | Alcohol "bite" fades; blend smells less harsh |
These ranges are starting points, not fixed rules. Some blenders find their formulas plateau earlier, while others keep noticing subtle improvement for months. Tracking your own notes over several batches is the most reliable way to learn your specific formula's rhythm.
Common Mistakes to Avoid
- Bottling immediately after mixing. This is the single most common reason a homemade eugenol blend smells harsher than a store-bought one. Give it time before it ever reaches a final bottle.
- Storing in clear glass. Light exposure during the rest period can cause uneven changes in color and scent. Amber or cobalt glass blocks the light wavelengths most likely to cause this.
- Opening the container too often. Frequent checks feel productive but can actually slow scent development by disrupting the internal balance of the blend.
- Resting in a warm spot for faster results. Heat speeds up chemical changes, but it tends to speed up the wrong ones, sometimes flattening a blend or making it smell cooked rather than complex.
- Ignoring headspace. A half-empty bottle has more air contact than a full one, which can accelerate oxidation unevenly across a batch.
- Skipping written notes. Scent memory is unreliable. Without notes from each check-in, it's easy to lose track of whether a blend is actually improving or just seems different because your nose has adjusted.
- Assuming every blend needs the same rest period. A simple two-ingredient dilution and a ten-material composition do not develop on the same timeline.
What to Expect After the Eugenol Blend Rest Period
People who work with rested blends regularly report that the harsh, almost medicinal edge common to fresh eugenol softens into something warmer and spicier after a proper rest period. Some blenders describe the change as the difference between hearing instruments play separately versus hearing them play together. That said, individual noses and individual formulas vary quite a bit, and a rest period is not a guarantee of a specific outcome. Factors like the quality and origin of your clove bud oil, the carrier or base you used, and your storage conditions all influence the final result.
It's also worth noting that a rest period changes how a blend smells, not what it's intended for. Eugenol blends made for aromatic or cosmetic use should be evaluated and labeled accordingly, with appropriate dilution guidance and a patch test recommendation for anyone applying diluted blends to skin. If you're formulating for sale, check current labeling requirements for cosmetic products in your region and consult a qualified professional if you have questions about your specific formulation.
Tips for Better Results
- Start a simple log for every batch: date mixed, ingredients and ratios, and scent notes at each check-in. Over time this becomes the most valuable tool you have for predicting rest periods.
- Rest a small test batch alongside your main batch if you're experimenting with a new ratio. It's cheaper to sacrifice a small sample than to wait on your entire production run.
- Keep your resting space at a stable, moderate room temperature rather than chasing the coldest spot in the house.
- If you're blending for a product line, rest a slightly larger batch than you think you need. Evaporation and testing samples will use up a small amount of volume over the weeks.
- Trust your blotter tests over your memory of how the blend smelled a month ago. Scent perception drifts, and a side-by-side comparison with an earlier sample, if you saved one, is more reliable than recall.
Aging a eugenol blend before bottling takes patience more than technique. The steps themselves are straightforward: mix, seal, store, wait, and check. The real skill comes from learning to read your own formulas over repeated batches and resisting the urge to rush a process that simply needs time to do its quiet work.